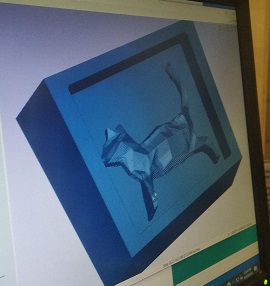
For this week's milling casting and moulding, I decided to work with the cat I 3D printed in for a previous class (link).
To make the mould, all that needed to be done was to ensure the cat was sized correctly within the 3/3.5" frame of the blue slab (name?). I sized the cat at 2.5" length.


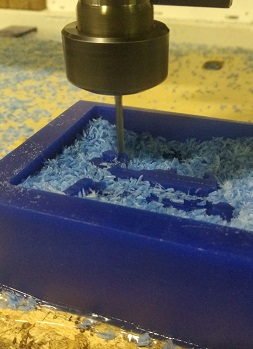
Once my cat was fully embeded, next steps were to set the origin, zero the endmill.

and finally begin printing!


I decided to make an Oomoo mould first and then either a metal cast or a plaster clast.
For the Oomoo 25 the instructions were easy enough: the mix was 1:1 (dark, blue liquid + light blue liquid) by volume (not weight). Mix for three minutes and vaccum.

Just to make sure, i decided to vaccume the liquid before pouring it. It was quite fun to watch the liquid rise and fall. Almost sci-fi like:

While pouring I had to ensure a continuous, thin and steady motion so that the chances of accumalating bubbles within were minimal.

The mould dried in about one hour's time. After which I decided to make a plaster cast (I wanted to work with metal but it was late and John forbade us from using it that night).
The mixing of the plaster happened by sight. I have worked with industrial plaster (pop)before so I trusted my eyes.

Again while pouring, I ensured a slow, steady and thin line of motion.


A one-sided cat!

